Moving into a first rental property, whether alone or with friends, is a big step. So to help make the whole process as simple as possible, Canstar has compiled an easy eight-step guide for first-time renters:
1. Set a budget
When thinking about a rental, it's a good idea to create a budget. Moving out of home can be expensive. You'll need to cover one-off expenses like the bond, rent paid in advance, connecting utilities and internet, as well as potentially the cost of actually moving your stuff (like packing boxes and removalists).
There are also ongoing costs, such as rent, utility and internet bills and contents insurance (if you decide to take it out). Creating a budget can give you a better idea of how much rent you can afford and may help you decide whether to rent by yourself or with housemates.
2. Decide on your non-negotiables
Once you've worked out your budget, it's helpful to make a list of must haves and nice to haves to help with your property search. Consider the location and property features. For example, your must haves might be a secure apartment with at least one bedroom, a car space and natural light.
Some nice to haves might include air-conditioning or additional storage space. It also pays to think about particular suburbs that offer convenient access to work, public transport and/or family and friends.
3. Prepare your application
Competition can be fierce, so it's worth preparing your rental application early so you can apply as soon as you’ve found the right property.
As a first-time renter, you won’t have a rental history to support your reliability as a tenant, so it's important to provide details about your employment and income. You’ll usually need to include identification (such as your driver licence or passport), proof of income (such as recent payslips) and references (personal and/or professional). In some instances, it could also pay to demonstrate if you have a healthy savings account balance. This could give further evidence that you can afford to pay the rent.
4. Find a flat
After you've put together your rental wish list and have started prepping your application, it’s on to looking at property listings. Look at sites like realestate.co.nz and OneRoof. You can filter the results by variables like location, number of bedrooms, price and features. You could also consider contacting a real estate agent or property managers, or monitoring websites such as Trade Me, or Facebook Marketplace for share houses.
Also, note whether the places you're looking at are fully or partially furnished, as having a room already set up with a bed, or a lounge with a sofa, could save you the expense of purchasing and transporting your own furniture.
5. Inspect the property
Once you've found properties you want to see for yourself, you'll need to either contact the agent to arrange an inspection or attend an advertised inspection time. Photos can be deceiving, so it's a very good idea for you (or a trusted friend or relative) to go and inspect the property before you apply.
At the inspection, double check the property has everything you need and check its condition. Look at the doors, walls, ceiling as well as any in-built appliances. It's also a good idea to use a compass app to check which direction the property faces, as north and north-east facing properties typically get the most sunlight.
Introduce yourself to the agent and ask them any questions you have about the property or the application process. If you decide to apply, do this ASAP and make sure you fully complete your application. It'll then usually take between one to three business days to hear if your application was successful.
6. Approval
Congratulations, you've been approved for your first rental! The agent will send you a tenancy agreement to read and sign. This is a legally binding contract that sets out the rights and responsibilities of the tenant (you) and the property manager/owner. Read it carefully.
It usually includes information such as:
- The name and address of the tenant and the property manager/owner
- The length of the agreement and the type of tenancy (fixed or periodic)
- The amount of rent to be paid and when and how it must be paid
- The amount of bond to be paid
- Terms about what the tenant and property manager/owner can and can't do (e.g. terms about breaking lease, rent increases, damage and repairs)
- Any special terms
You'll also typically be asked to pay a rental bond, which is usually four weeks' rent. Essentially, it’s a security deposit, usually 2-4 weeks’ rent, and is held by Tenancy Services. It's to cover things such as unpaid rent, damage to the property or any claims relating to the tenancy. You'll need to fill out a bond lodgement form and have it signed by everyone who signed the lease. If you’ve honoured your lease and haven't damaged the property, the bond should be returned to you when you move out.
You may also be asked to pay rent in advance. For example, two weeks' rent in advance before or when you move in.
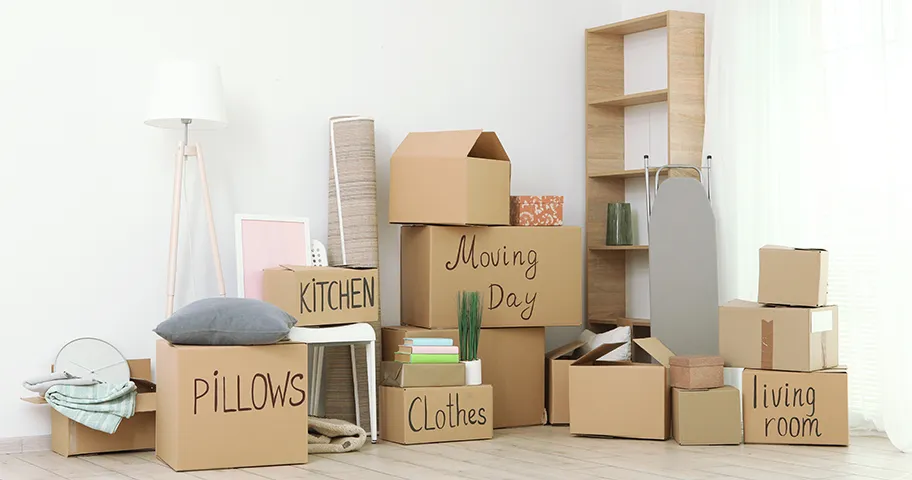
7. Preparing for the move
The first few items on this list of first-time renter tips are about finding and getting approved for your new place, but there are a fair few things you’ll need to organise before the big moving day.
Importantly, you'll need to decide whether you want to hire a removalist service or move your belongings yourself (perhaps with the help of family and friends).
It's a good idea to start packing early. You can buy moving boxes from retailers such as Bunnings and Warehouse Stationery, as well as storage and removals companies. You may even be able to find some second-hand on Facebook Marketplace or Trade Me. Try to declutter before moving. If you have unwanted belongings in good condition, consider selling them on platforms like Facebook Marketplace and Trade Me.
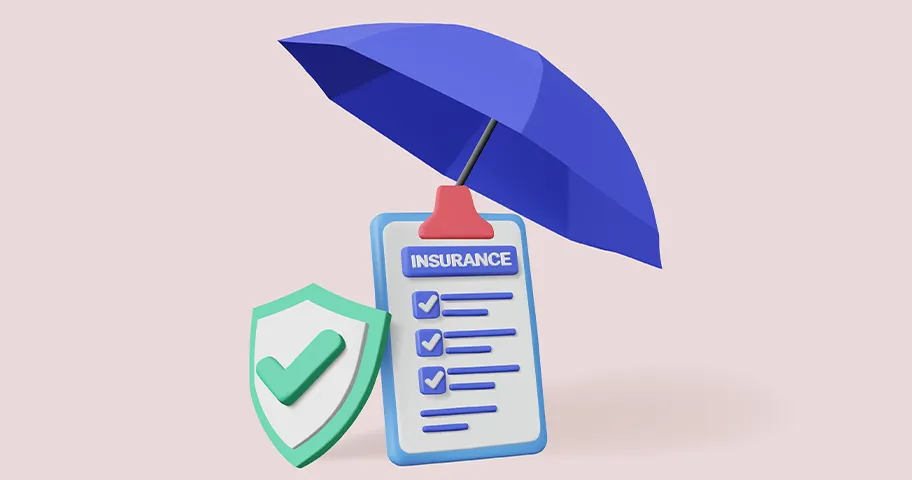
It's also important to update your address details. Don't forget to update your driver licence, myIR account details and notify your bank, work and other providers of your new address. You could also consider organising contents insurance to help protect your belongings.
You should also arrange for your utilities (electricity, gas and water) and internet to be connected. It's a good idea to organise this early as some providers will need to come out to your new place to connect.
8. Moving day
When you receive your keys, the property manager/owner should give you a condition report to complete and sign. This is a document that states the condition of the property at the start of the tenancy. It should cover each room in the property, including the doors, walls, ceilings, windows, fittings and fixtures, and should note any existing damage or issues.
Make sure you carefully check the report against the property itself and note any damage or issues, such as marks, stains or chipped paint. It's important to take photos and videos of the property so you have a record of its condition when you moved in. This is crucial because the condition report can be used as evidence if there's a dispute about any damage.
Before you do any heavy lifting, it's a good idea to measure the size of each room and the door frames to ensure your belongings will fit. You could also ask the property manager/owner whether you can access the property early to measure the space. Depending on the property, you may also need to reserve use of the elevator during a certain timeframe.
After that, it's time to move in and enjoy your new place.
When things go wrong
You might want to consider having contents insurance when you move into a flat. Contents insurance covers damage and loss of your belongings (including damage caused in a natural disaster). It'll cover anything from a pair of designer sunnies to a television. It also provides some third-party cover if you damage someone else's belongings in the home you're living in.
As a young renter, it can be tempting to ignore the need for contents insurance, but consider the potential costs of an accident. If you cause a fire, for example, you could be charged thousands of dollars for repairs. Having contents insurance can cover you for personal liability in a situation like that.
Some policies on the market are called renters insurance, essentially, they work the same as a contents insurance policy, but are just specifically aimed at renters.